Much like my other western buildings, I started with cutting my walls & floor out of sheets of foam core. Where the walls join, I cut the foam core at 45-ish angles & glued them together with a low-temp hot glue gun. The floor is still separate at this point because it'll be easier to adorn my walls in future steps.


I planked my floor with popsicle-sized craft sticks, then took a metal pointy tool & scraped in some deeper lines to enhance the wood grain & applied Minwax woodstain.

Of course we need some stairs to get to the 2nd level, so I cut the main support out of foam core & added some more craft sticks to the tops & sides of the step areas. For playability's sake, I put landings in that fig's bases can comfortably stand on.

The stairs along with some more interior walls and we've got the floor plan to level one. I don't show it, but to help keep the 2nd floor from moving around when they're stacked, the top floor has an extra piece of foam core cut smaller & sets inside the main outer walls and the inner walls of the 1st floor are .25" shorter than the outer walls to fit that extra piece.

Here's level 2:

Time for wall paper. I printed off various patterns on a laser printer (this will not work with inkjet printers - inkjets are waterbased & will bleed when wet) and cut them into strips that correspond to my wall heights, covered the backs with glue, smoothed onto my walls, & then when they were dried, I cut out the windows & doors... In hindsight, I hosuld've paid closer attention to making the corners tighter. Some of them I didn't get the paper all the way into the joint, so it looks funny.

Also, what's a hotel without some can-can dancers, so I'm putting in a stage. What good are can-can dancers if you can't see ergo the stage needs some lighting. Taking some sequence, a drinking straw & styrene rod I made some candle holders with guards.

For the flame on the candle, I took some Crystal Clear silicone caulk, mixed in some Vallejo transparent orange & yellow, then dabbed the ends of the candles into it to get a good gob on them.

They were hard to glue together straight because nothing is holding those candles in, but they look alright.

Ok, so wall paper is up & stage is in (white area behind stage will be painted black & covered with a curtain). The inner walls look a little wonky right now because they're not glued in place yet (the floor still isn't either). I still had to put the wood trim in around all the doors & windows and the more I could maneuver around them, the easier it was going to be.


Next, I took strips of sheet balsa, stained them, & trimmed all the edges of all the doors & windows, plus the inner depth of the foam core. Then finally hot glued the floor & all the walls in place. And kitty posed for scale


That initial sets of stairs you saw did have to get adjusted a little bit, because I forgot to make it .25" shorter to compensate for the drop from the 2nd level. I am pretty pleased with how it lined up in the end though.

I did all the siding & outside trim work with strips of sheet balsa.


Then as previous buildings, I painted the whole thing & then sanded it in various areas to look like it chipped off. I'll be doing a grey/brown stain over this, but I want the rest of my outdoor wood done so I can stain them all at the same time. I didn't grab a photo of the painting stages, but you'll see it in the other pics.
I'm having a wooden plank sidewalk around the front/sides of the building as well as a wooden plank balcony. To make sure the balcony was stable enough to hold a couple of models & out of the way so the 2 floors could still fit together properly, I poked a bamboo skewer into the side of the building, & attached it to the bottom of the balcony.

So far it looks like this:

I had originally intended to make fancy railing banisters on the balcony by sanding down toothpicks, but I realized I wouldn't have enough length on the banisters to really do anything. Instead, I made the balcony support beams fancy by using a power drill & sandpaper to shape the middle of them.

Here's a Melly's eye view video of how that worked.
Looks pretty good on the building.

So, next I'll get the railings for the balcony cut, build the outdoor stairs, & all doors leading outside then I'll be ready to stain...
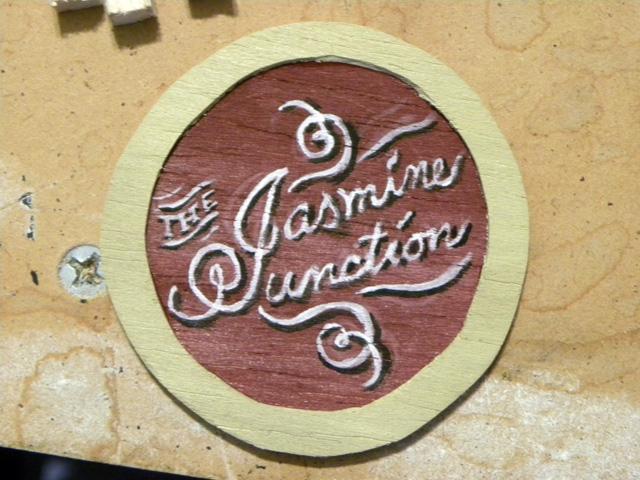
The main sign is just sheet balsa, cut in circles & painted.
Roof base is just thin cardboard with small rectangle shingles from more sheet balsa glued on in rows.

Stairs are sheet balsa, with square dowel supports & craft sticks. I made the upper most platform connected to the second level, but still resting on the rest of the case when the 2nd story is in place.

I finally had everything ready for a mass staining

Black wood stain was far too dark for the look I was going for so I mixed it with some of the 'natural' I had... and by some, I mean a lots. I didn't measure out my ratio but on the left you can see how much natural stain filled the cup, then after the black was added the level is barely more than before.

Once everything was dry & less stinky, I started getting the loose bits attached. To help keep the balcony railing stable, I took my pin vice & drilled in pilot holes for the banisters. I was a worried about not keeping them straight down the line so I made a quick guide stick so they were all put the same distance from the building.

Repeat that dozens of times, glue on a strip of balsa across the banisters, glue the support posts to the sidewalk and outside walkways are done.


Next I'll start working on the interior furnishings.
Mostly everything is made from crafts sticks & sheets of balsa, then stained with Minwax. Here we have a couple framed paintings, a front desk, benches for the concert hall, a few tables (the supports are wooden spools), a backing for key pegs, and shutter doors to enter the hall.

I also made a piano that you haven't seen yet, but to make the foot petals I heated up some styrene rod with a lighter & then flattened the end like this:

Also made some beds out of craft sticks, balsa & bamboo skewers. I rounded the head/foot boards using a dremel. Then, I put in some chunks of foam core to be the mattresses.

Here you can see the finished piano, beds made & couple of dressers.

The first stage curtain didn't turn out very well. I had some red satin ribbon that I pushed wire through but it wouldn't lay nice:

So, I soaked some red coverstock paper in water, poke through a brass rod & that worked out much better.

There's still more furniture to make, but I put these into place to get them out of my way...


oh yeah, I made a cuckoo clock too.

Here's the front desk with key holder.....
No comments:
Post a Comment